Since my earliest attempts to recreate the claypot effect in a rice cooker, and then I tried to cook lor mai gai in the IP (and even bought an IP suitable pot to do so), I could never get the texture of the rice just right or get the chicken correctly cooked (neither over nor under cooked). My suspicion was that the water and oil content exuded from the chicken is a wildcard that is very hard to accurately gauge.
After reading and trying out this method for glutinous rice where the key lay in NOT overly soaking the rice, I decided to try again but this time in a proper upscaled rice cooker. I realised that most recipes that required soaking glutinous rice for 4 hours or even overnight was because they wanted to steam the rice. In a rice cooker, it's immersed in water and boiling in water, so the glutinous rice can easily turn to mush.
I decided not to include in too many elements and ditched the chicken, just working with lap cheong and mushrooms for flavouring. In addition, my rice cooker has a special pot which apparently can re-create the burnt bottom of a clay pot. It was either the Claypot setting or the Firewood setting and I decided to try the latter setting. Success!
Ingredients
2 cups of glutinous rice, soaked for 1.5 hour only
About a handful of dried shitake mushrooms, soaked
2 tbsp of shrimp skins or rehydrated dried shrimp
1 Chinese rice bowl of water (not all will be used)
1 tbsp light soya sauce
1 tbsp dark soya sauce
2 tsp oyster sauce
1 tsp sugar
1 tsp chicken bullion powder
1 tbsp Chinese rose wine (to give it a special flavour that goes well with pork)
4 links of lap cheong, sliced thinly
4 cloves of garlic, sliced into thin cross-sections
1 stalk of spring onion, chopped and separate white from green parts
2 eggs, beaten
Pinch of salt
1 tsp sesame oil for garnishing
Method
1. Wash and soak the glutinous rice for 1 to 1.5 hours; no more than 1.5 hrs. At the same time, soak the dried mushrooms in the bowl of water. Also soak the dried shrimp now if using.
2. Prepare the mixing sauce, mixing the soya sauces, sugar, and oyster sauce.
3. Once the mushrooms have softened, remove the stalks and slice if too large. Mince the dried shrimp if using. Reserve the soaking water.
4. Lightly fry the white parts of the chopped spring onion, drained mushrooms, lapcheong and shrimp skins/dried shrimp until fragrant.
5. In the rice cooker, lay the sliced garlic cross-sections at the bottom of the pot. This causes the garlic to go jammy from the pot's heat.
6. Layer on the lapcheong, shrimp skins/shrimp and mushroom slices. Try to keep them in 1 layer.
7. Drain and add the drained rice. Try to flatten into a concave layer (flatten against the ingredients). The aim is to keep the rice as far above the water as possible so that it's steaming rather than boiling. For 2 cups of rice, use 1⅓ C of mushroom soaking water. If there isn't enough liquid, top up with water. (for 3 cups of rice, use 2 C of water). Set to Claypot function.
8. Once the rice cooker beeps (only beeps when using the Claypot Pot function), drizzle on the mixing sauce but DO NOT mix. Careful, the steam is hot!
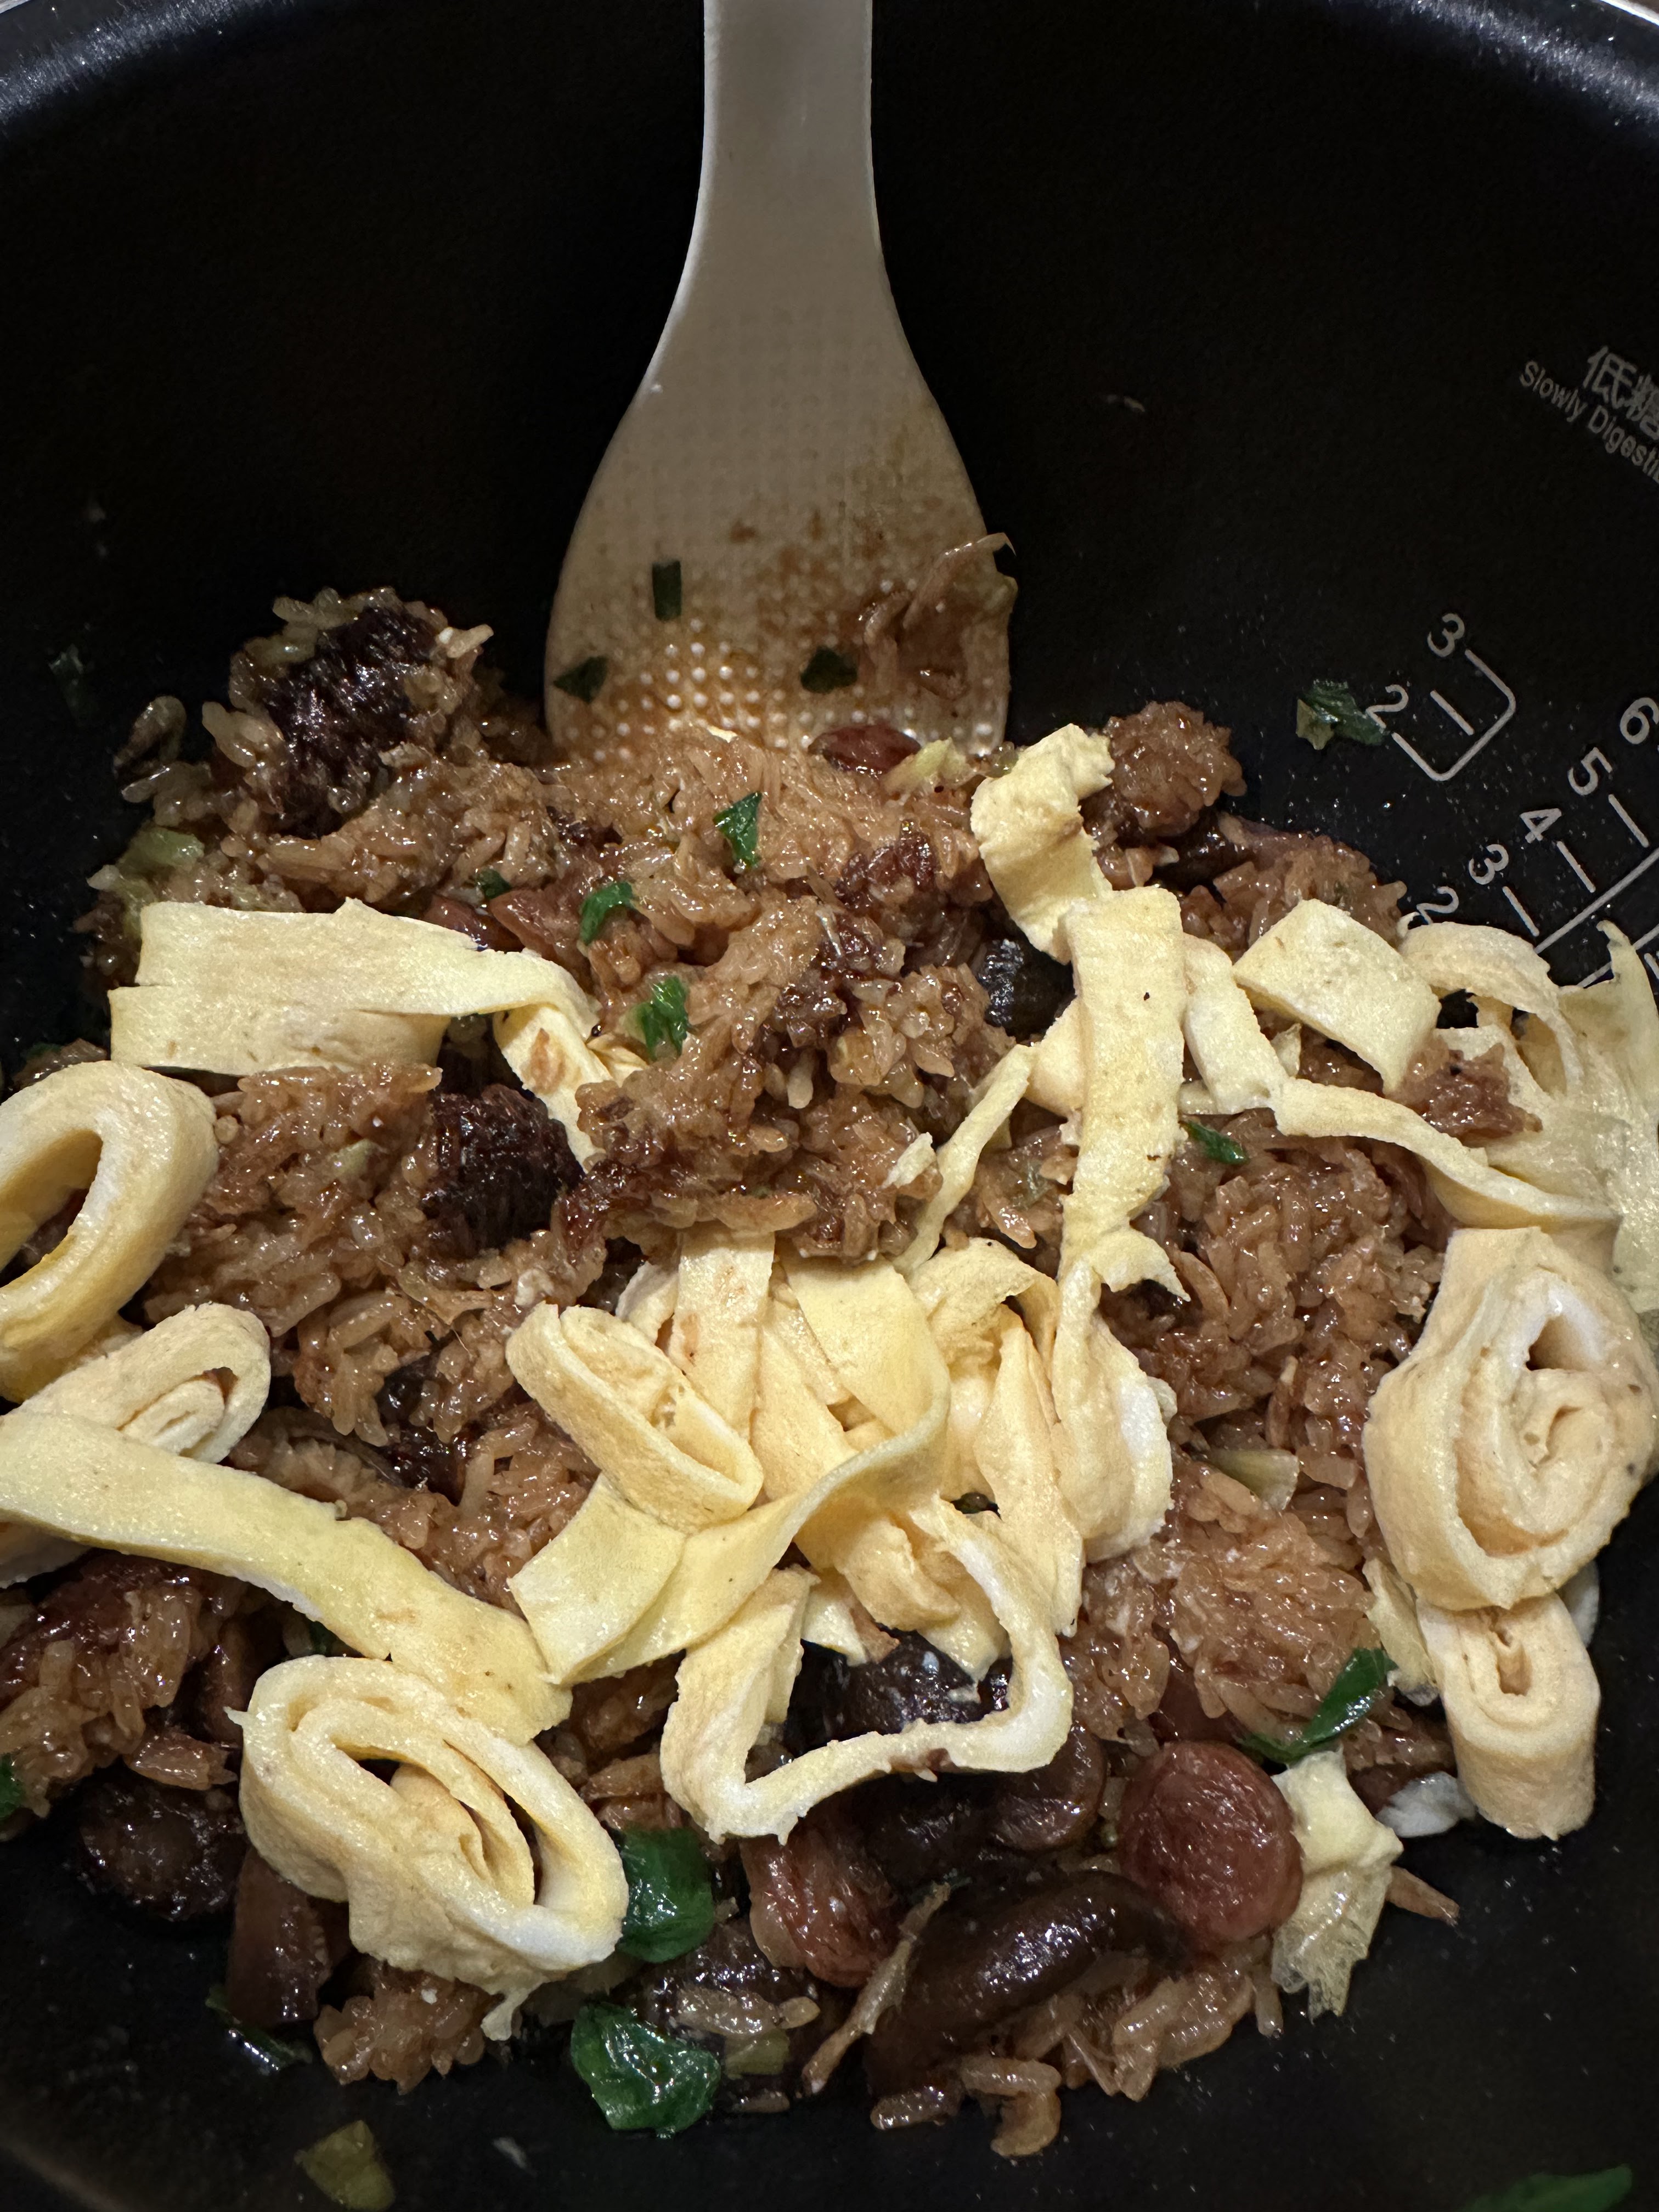
9. Meanwhile, make an omelette with the eggs and pinch of salt. Allow to cool then slice into ribbons and set aside.
10. Once the rice is cook, use the Stay Warm function and allow to rest for another 5 to 10 minutes.
11. Mix well. Garnish with the greens of the spring onion, drizzle on sesame seed oil, and top with omelette ribbons. Serve immediately.
Recipe feedback
- Success! The Claypot function worked beautifully and I even had a burnt bottom and jammy sweet garlic slices!