Sunday, July 21, 2019

Black forest swiss roll

I adapted from the coffee swiss roll by Yochana and my adaptation was spot on!

Ingredients
5 eggs, at room temperature
90g sugar (do not reduce this amount)
30g cocoa powder
70g plain flour
pinch of salt
65g corn oil or melted butter (I use oil)

Filling
150ml double cream
¼ cup icing sugar (do not reduce this amount)
1 cup drained canned and pitted cherries

Topping
100ml double cream
4 tbsp icing sugar
Drained cherries for deco

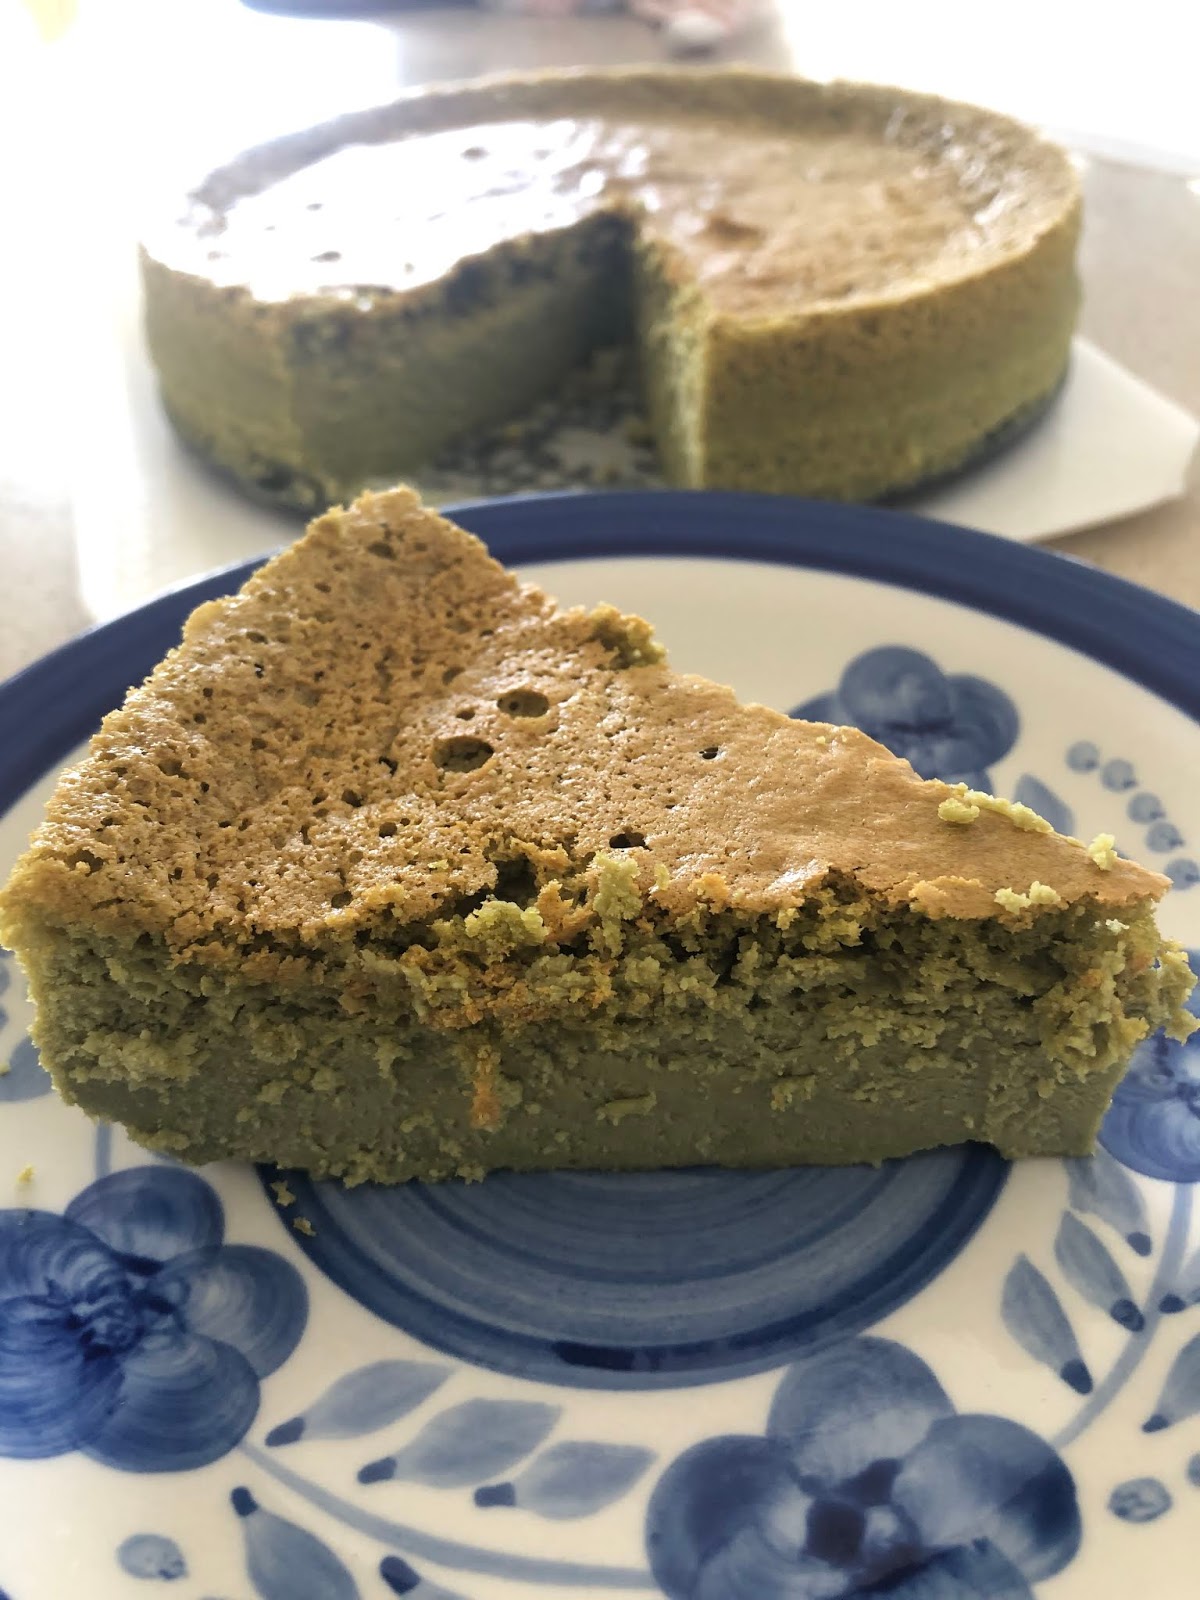
The toppings cover the cracks in the cake
Method
1. Take out the eggs and bring them to room temperature.
2. Prepare the pan by lining it with parchment.
3. Beat the eggs with sugar until pale and foamy, until the ribbon stage. It should triple in volume.
4. Add the oil in batches and also mix until incorporated.
5. Fold in sifted cocoa powder, flour, and salt.
6. Pour into the pan and flatten with spatula. Ensure that fills the corners of the pan. Drop from a height to dispel the bubbles.
7. Bake at 180 deg C for 18 to 20 minutes until the top springs back when touched.
8. Once out of the oven, immediately take the cake out of the tin and let it cool on a wire rack for 5 minutes.
The top. The skin got stuck to the paper and peeled off. Oh no!
9. Place a clean baking paper on another larger baking tray. Invert the cake onto the baking tray and remove the backing of the cake. Let it cool further on a wire rack.
10. Once cool enough to handle (about 5 minutes), roll the cake up as tight as you can (but be careful not to crack the cake!) using the baking paper to assist. Cover with a cloth and leave to cool completely.
11. While waiting for the cake to cool, beat the double cream with the icing sugar until stiff peaks.
Cracks on the side from being very heavy handed with the cake
13. When the cake is completely cool, unroll it. Cut off 1.5 cm at a diagonal on one of the short ends. This will help the cake to form a nice seam. Spread on the cream thinly with an offset spatula. Place the drained cherries to only the first quarter of the cake (the side you begin rolling). If you put too much fruit, it becomes very hard to roll. Re-roll the cake. Make sure that it is resting on the seam.
Decorated
14. Wrap the cake in the baking paper and then wrap over with cling film. Let it cool and rest in the fridge on its seam, for a minimum of 1 hour or best overnight.
Everything looks nice after a clean up!
15. While chilling, make the topping. Just before serving, pour on the whipping cream for the topping and decorate with cherries. Serve immediately!

Recipe feedback
- Considering I adapted this recipe from the coffee swiss roll, it was great! It was very moist but a bit crumbly and this showed when I tried to roll it. The top skin of the cake stuck to the parchment when I had inverted it onto the baking try to remove the backing. I had to turn it back so that the bottom of the cake was showing on the outside.
- I had forgotten to add sugar to the filling cream and it would have gone really well against the sourness of the cherries. But overall, satisfied!

Updated: This cherry swiss roll has an interesting way of placing the cherries to roll up.
https://www.anncoojournal.com/cherry-swiss-roll-cake/?fbclid=IwAR1c2Bn5ROhI8EZbTWM4Dq4Thj1QgWWgCnMi0BncgteVN3QQwvQ_z30LseY

Sunday, June 30, 2019

Matcha cheesecake

I intended to make a matcha chocolate cheesecake with double cream, 3 eggs, and no flour in a 28 inch tin but unfortunately, my cream had gone bad. I had to quickly switch recipes and found one that also uses 1 packet (250g) of cream cheese but needed cake flour and 6 eggs. That was alright, I had these ready.

Source: https://www.craftpassion.com/matcha-japanese-cheesecake/2/

I adapted the method based on what I had already done halfway and the temperature is indeterminate because I accidentally left the oven on during the portion where the oven door was open.

Ingredients (for 8 inch tin)
1 block (250g) cream cheese, room temp
6 eggs, separated
140g sugar
100ml milk
60g butter
60g cake flour
8g corn flour
12g matcha powder
¼ tsp salt
¼ tsp vinegar or lemon juice

Method
1. Line a 8" tin with parchment. Butter the sides. Wrap the outside of the tin with double layer of foil so that water does not seep in. Meanwhile, prepare a larger baking tin (large enough to fit the cake tin).
2. Melt the cream cheese over a bain marie. Add egg yolks and beat with whisk until smooth.
3. Add half the sugar and whisk. Add the salt and combine.
4. Place the milk and butter in the microwave and microwave until the butter has melted. Add to the batter and combine.
5. Sift together the cake flour, corn flour, and matcha. Pour into the batter in batches and fold.
6. In an extremely clean bowl, beat the egg whites. Add the sugar in batches and beat. Add the vinegar and beat. Beat until stiff peaks.
7. Mix the batter with ⅓ of the meringue. Add the next third and fold in. Finally, pour the batter into the bowl with the remaining third of the meringue and carefully fold in so as not to knock out the air.
8. Pour into the cake tin and drop on the counter top to dispel the big bubbles. Use a spatula to make slashes to dispel more bubbles.
9. Place in the baking tin and pour in just boiled water so that it comes ⅔ up the side of the cake tin.
10. Bake for 160 deg C for 45 mins, then 140 for 45 minutes. Switch off and leave to cool in the oven with door open for 30 minutes.
11. Remove to countertop and drop from a height of 10cm (protect your counter top of course!). This prevents it from shrinking too much. As it cools, it will shrink away from the sides. Leave to cool completely, preferably overnight in the fridge.
Hasn't shrunk that much after cooling for half hour on countertop
12. To unmould the cake, use a spatula to go round the sides to release. Cut with a clean knife and to get really cleanly cut slices, wipe after each cut.

A bit dense but at least not eggy tasting

Recipe feedback
- My temperature control was really bad because I was alternating between fan forced and non-fan forced. I realised that with heating element (non-fan forced) only, the temp dropped 20 deg very quickly and the guage was off by at least 20 deg. So even though I started at 160 deg C, it quickly dipped to 130 or when I switched on the fan, it rose to 170. After I switched off the oven (or thought I did), there was no jiggle left. I and left the door open but had in fact left the heater on so the temp dropped from 160 to 130 in the 45 mins that the door was open. 
- Whatever the case may be, it seems that the initial hot air of 160 is needed to both brown the cake and dry up the top, but also to create the lift. The 140 deg C is then needed to dry the inside and cook through. Thus, a half-half timing that I've incorporated above seems for a 8" cake.
- Matcha is very difficult to work with. It either creates a very dry cake or very dense without much lift. Thus this cake was very dense and I don't know if it's because of the matcha or because my eggs weren't fresh enough. I had beaten still stiff peaks but it didn't seem to have helped.

Sunday, June 16, 2019

Kueh dadar (Pandan pancake with coconut filling)

I had some leftover coconut from the last recipe and no idea what to do with it. Decided to try out these recipes:

1. https://www.curiouscuisiniere.com/mini-kueh-dadar-rolled-coconut-crepes/ : for the proportions and use of tapioca starch in the batter
2. https://www.asianfoodchannel.com/en/recipes/nyonya-kuih-dadar  : how to extract pandan juice
https://www.shiokmanrecipes.com/2016/11/25/kueh-dadar-kuih-ketayap/ : video and tips


Ingredients (makes 8)
Inti (coconut filling)
200g dried coconut shreds, unsweetened
100g palm sugar or gula melaka
2 pandan leaves
1 tbsp water
pinch of salt

Crepe
200g flour (1 cup + 5 tbsp)
10 pandan leaves
250 ml coconut milk
150 ml water
1 egg
1 tsp tapioca starch
1 tsp oil
pinch salt

Method
Filling
1. Shave up the gula. Add the water into the pan and dissolve the sugar over low heat.
2. Add the knotted pandan leaves and stir. Remove the pandan leaves.
3. Add the coconut and stir until all the sugar syrup has been absorbed.

Crepe
1. To prepare the pandan juice, blend the pandan leaves in 150ml of water. Line a sieve with a cheese cloth and pour in the blended pulp. Squeeze out 150ml of juice. Set aside.
2. Sift the flour into a bowl add the salt. Stir and create a well in the centre.
3. Pour in the santan and mix until no lumps remain. Pour in the pandan juice and mix. Add the oil and mix.
4. Pour on 100 ml of batter and pour in the centre of the pan from a height of about 10cm above the pan. Rotate to swirl the batter as thinly as you can. Keep the heat low so as not to brown the crepe. Cook until edges start to curl. Remove (there is no need to cook the other side but it should be dry). Repeat until all the filling has been used up.
5. Depending on the size of your crepe, use about 2 tbsp of filling per crepe. Fold

Sunday, June 02, 2019

Coconut candy

Have saved this recipe in my bookmarks for at least 2 years now but never got down to making it. After positive endorsement of the RotiNRice recipe by my cousin, I decided to try it.

Sources: Recipe ingredients based on https://www.rotinrice.com/coconut-candy/ but method modified from http://lilyng2000.blogspot.com/2010/01/malaysian-coconut-candy.html

Ingredients
3 tbsp butter
2 ⅔ C (227g) coconut dried coconut shreds (not dessicated coconut)
½C sugar (can reduce by ½ C cos too sweet)
½C condensed milk
½C milk
8 - 10 drops of red food coloring
2 tsp vanilla essence

Method
1. Grease a baking tray (mine is 11 by 13 inches). Line with waxed baking paper. Set aside.
2. Melt the butter in a non-stick pan.
3. Mix all the ingredients together. It will be very watery.
4. Bring to a gentle simmer and maintain a simmer. Stir continually. It will take about 25 minutes.
After 25 mins
5. The coconut mixture will turn matt instead of glossy. It will leave the side the pan and leave it clean. To test, roll a ball of the mixture and drop into a bowl of water. If it doesn't disintegrate, it's ready.
Sadly my Cusiena measuring cup fell on the floor and broke! :(
6. Pack into a pan (mine is 11 by 13 inches). Cover with a wax paper and press down to flatten using your hand.
7.  Leave to cool for 10 minutes. Score into pieces with a well-greased pizza cutter. Once completely cool, lift out of pan only a chopping board and and cut completely.


Sunday, May 19, 2019

Sago pudding

As a child, I'd often help my mother to make this recipe. However, I've forgotten the recipe, which made it very traumatic for me because I so desperately wanted to recreate that taste and thus those feelings of home, mother, and a secure childhood.

I did try it once in recent times and it turned out to be a stodgey mess. Until I came across these tips, that is: https://www.theburningkitchen.com/how-not-to-cook-sago-3-common-mistakes-people-make/

So here's my redo of this childhood favourite adapted for my pots and requirements.

Ingredients
250g small sago pearls
large pot of boiling water
300g (1 block) of gula melaka, shaved and and made into a syrup
1 can of coconut milk (use fresh if you have it!)
7 to 10 pandan leaves.
Pinch of salt


Method
1. Following the tips from Burning Kitchen, bring a pot of water to a boil. Knot the pandan leaves and boil for 10 minutes until the fragrance emerges.
2. Pour in the sago pearls (do not soak nor wash beforehand!). Stir and keep stirring. Turn down the heat to medium and leave to simmer for 12 minutes, with lid slightly ajar.
3. The centre will still have a tiny dot of white. Turn off the flame and cover. Leave to steep for 20 minutes. The residual heat will continue to cook until the tiny dot of white turns clear.
4. Strain in a strainer and rinse in tap water until the sago is no longer hot.
5. Spoon into a mould where it coagulates into a pudding. Leave to cool until no longer hot and chill in the fridge.
6. Serve with gula mela syrup (cooked with pandan leaf) and coconut milk which has a pinch of salt added.

Monday, May 06, 2019

Cake-like matcha madeleines

I first used this recipe and while the taste was ok, the texture wasn't as enjoyable as another method that I used for earl grey madeleines. Therefore I am now combining both recipes: the ingredients of the first and the method of the second.

Ingredients (makes 20)
113g butter, melted and brought to room temp + 2 tbsp melted butter for coating (28g)
⅔ C sugar (133g; can be reduced to 130g)
1 C flour (120g)
1 tsp baking powder
1 tbsp matcha powder
Pinch of salt
1 tbsp milk, at room temp
2 large eggs, at room temp


Method
1) Bring out the eggs and milk and let them come to room temp. Melt the butter and allow to cool down to room temp. 
2) Combine the sugar and egg and whisk until pale and fluffy.
3) Sieve the flour, baking powder, and salt. Sift into the egg mixture and fold carefully to avoid knocking out the air. I used the whisk to fold the flour in.
4) Add the milk and carefully blend.
5) Add in half of the melted butter and blend, and continue adding slowly and blending carefully.
6) Cover with cling film and put in the fridge to rest for between 30 to 60 minutes. No longer than 60 minutes otherwise the melted butter will harden.
7) While waiting for it to chill, preheat the oven to 180 deg C. Brush the moulds with plenty of melted butter. Dusting with a sifting of flour is not necessary as it can get claggy.
8) Fill each mould about ⅔ full, with 1 level tbsp of batter (using the measuring spoon). No need to smoothen out the top as it will spread out and flatten.
9) Bake at 177 deg C (no higher as it can burn on the outside but leave the inside raw). Baking time is 13 minutes, although watch carefully in the last 2 minutes or it can burn.
10) Use a fork to release each and leave to cool on a cooking rack. Alternatively, invert the entire madeleine tin over the cooling rack.
11) Leave to cool slightly for 3 minutes and eat immediately while the edges are still crispy. It looses its crispiness after 10 minutes (!). Best eaten with 24 hours. Store the cooled remainder in an airtight box at room temp for up to 4 days.


Recipe feedback
This has more of a hump compared to the first matcha madeleine recipe. The beating of the eggs and sugar gave the madeleines a more cake-like texture so it was spongey. However it was not moist like the first receipe. I underbaked at 12 minutes because I didn't want to burn matcha which burns easily. However, each maddy was only very slightly crispy straight out of the oven, so I might try the full 13 minutes next time.

Thursday, April 25, 2019

Brownie cheesecake slice

Whether you call it brownie cheesecake or cheesecake brownie, it's the same thing. I felt like baking cheesecake but also like brownies and decided why not do both together? Surprisingly, I couldn't find many recipes that use only 1 box (8oz) of cream cheese and an 8" square pan (or equivalent 7 by 9"). I found quite a few that used a 9" square pan or 9 by 13" rectangular pan but I certainly wasn't about to run out to buy one!

Recipe from: https://www.creationsbykara.com/cheesecake-brownies/


Ingredients (makes 16)
Brownie
½ C butter, melted and cooled
1 C sugar (can reduce to ¾ C)
½ C cocoa powder
1 tsp vanilla
2 eggs
¾ C flour
¼ tsp salt
½ C chocolate chips

Cheesecake
One 8 Oz cream cheese packet, softened at room temp
¼ C sugar
1 egg
¼ tsp vanilla

Method
1. Line a 8 inch square pan with parchment. Set aside. Preheat oven to 175 deg C.
Brownie
2. Pour the melted butter into a big bowl. Add the sugar and cocoa and whisk until combined.
3. Whisk in eggs and vanilla until well combined.
4. Sift in the flour. Fold in the flour with the chocolate chips.
5. Reserve ⅓ C of batter and pour the rest into the lined tin. Use an offset spatula and flatten out, ensuring to reach into the corners.
Cheesecake
6. Beat the cream cheese with the sugar until no more lumps remain. You can use a beater but I simply use a spatula.
7. Add in the egg and vanilla. It will look like it split, but be patient and it will become smooth.
8. Pour the cheesecake batter on top of the brownie. Be careful not to mix the two batters but just flatten out.
9. Dollop on the reserved brownie and swirl in using a butter knife or handle of a spoon.
10. Bake at 175 deg C fo 37 minutes (any time before 35 to 40 minutes according to the recipe. At 37 minutes, my cheesecake topping had just set and the brownie was just starting to crackle.
11. Place the entire cake tin on a rack to cool for 10 minutes in order to stabilise. Then, remove the cake by the parchment and onto a wire rack to cool completely before slicing up.
12. Serve fridge cold or microwave for 20 seconds till just warm.

Fresh out of the oven
13. Store in an airtight container outside for 2 days, then the remainder in the fridge for a few more days. Wrap tightly and freezes well for up to 2 months.

Recipe feedback
The cake was baked for 37 minutes which means that everything was just set. The cheesecake was still squidy. However, the brownie didn't have the signature crispy top that I like with freshly baked brownies. I still prefer brownies with peanut butter which make it very moorish but still has the crispy top when it first emerges from the oven.

Sunday, April 14, 2019

Red fermented beancurd chicken (slow cooker method)

I bought red fermented beancurd some time ago and have no idea what to do with it. I used it for roast pork once and it was great but then what do I do with the rest of the bottle? Here's a recipe that looks interesting and not too far removed from the tastes that I'm used to.

Original source: http://thedomesticgoddesswannabe.com/2014/02/chicken-with-fermented-red-bean-紅腐乳-curd-and-black-fungus-姜丝云耳鸡/

I ran out of black fungus so substituted for shitake mushroom but in future, I will use both black fungus and shitake. I also added tau kee and tau pok because I like it!

Ingredients
1.5kg drumsticks
1 thumb sized ginger, sliced
1 tbsp garlic, minced
8 dried shitake, rehydrated (reserve the water)
2 tbsp sesame oil
2.5 cubes of fermented beancurd, mashed plus juice from the jar
4 tbsp oyster sauce
3 tbsp light soya sauce
2 tbsp dark soya sauce
2 tbsp sugar
1 tsp Chinese cooking wine
2 dashes of white pepper
Corn flour slurry if using
½ packet tau pok
½ packet tau kee (soaked)
1-2 cups water


Method
1. Marinade chicken with the soya sauces, wine, pepper, and sesame seed oil.
2. Briefly fry the chicken until browned. Remove and set aside to fry the aromatics.
3. Return the chicken to the pan, add the oyster sauce and shitake. Cover and bring to a boil. Remove the scum and slow cook 1 to 2 hours.
4. In the last half hour, add the tau kee and tau pok.

Saturday, April 06, 2019

Red bean porridge with gula melaka glutinous rice balls

This is an adaptation of the Korean red bean porridge, 팥죽. I've read some versions that use salt but I'm not a fan of something salty.

Ingredients
300g red bean paste (I used canned)
10 knotted pandan leaves
10 cups water
¼ cup lotus seeds
100g glutinous rice
5 to 6 tbsp water (use more if necessary)
300g gula melaka


Method
1. Knot the pandan leaves and add to the water. Bring to a boil and boil for 10 minutes.
2. Meanwhile, prepare the lotus sees by soaking in boiling water for 5 to 10 minutes until softened. Remove the internal bud of the lotus seed which is bitter. Add to the boiling water.
3. Add the red bean paste to the water and stir until combined. Continue to simmer on low.
4. In a separate bowl, add the flour and put in a tbsp spoon of water at a time until the flour barely comes together. You may need more than 6 tbsp if the flour is really too dry (depending on how you've stored the flour and ambient humidity too). Once you are able to gather most of the dry flour, stop and start to knead. It should all come together, if not, wet your hands and continue to knead. Knead for approximately 5 minutes. Cover with a damp cloth and set aside.
5. Pinch off little bits of dough to make balls.
6. Cut the gula melaka into cubes. Make a hole in the middle of each dumpling and insert the cubes. Close up the ball and ensure that each seam is well sealed otherwise they will burst during cooking.
7. The balls can be cooked in the soup (makes the soup more starchy) or in a separate pot of boiling water, depending on personal preference. To cook the balls, ensure that the liquid is at a rolling boil. Add the balls. They will sink. Use a spatula to stir so that they don't get stuck to the bottom. When they float, give them another 2 to 3 minutes and they're ready. If they were cooked in water, ladle them out with a sieve and add to the red bean soup.

Thursday, February 07, 2019

Real pandan juice chiffon

For this recipe, I relied on my usual favourite, DMG. She has two recipes - one that uses pandan paste which I find hard to procure, and the natural method using pandan juice. I decided to use the latter recipe. She uses coconut oil and it gives the cake a lovely fragrance.
http://thedomesticgoddesswannabe.com/2017/08/pandan-chiffon-cake-pandan-juice-method/

This is another recipe by one of my favourite bloggers and very carefully explains his method. It's also for a 25cm chiffon
http://ieatishootipost.sg/how-to-make-a-pandan-chiffon-cake/
The difference is that he uses baking powder and also paste but not real pandan juice, and there is a lot more liquid in his recipe. In terms of baking tips, I didn't follow all his advice as I find that it doesn't really all work in my experience. Interestingly, he only bakes for 55 minutes at the same temp even though there's more liquid, whereas DMG bakes for 65 minutes. I have found that her cakes tended to be a bit burnt on the top and I've always needed to tent it in the last 15 minutes. I might try his recipe next time.

Ingredients
6 eggs, separated
138g sugar
70ml of pandan juice
90ml coconut milk
50ml coconut oil (or replace with a neutral tasting oil)
145g cake flour
½ tsp vanilla
pinch salt
⅛ tsp vinegar

Quite flat
Method
1. To make the juice, snip the leaves into a blender. Add just enough water to blend. Sieve into an airtight container to store overnight. The denser juice will settle at the bottom. The next day, carefully pour off the top watery layer.
2. Separate the eggs straight from the fridge.
3. In the yolks, add 30g of sugar and beat until pale. Add the coconut oil and beat until pale.
4. Add the coconut milk and salt, and combine with a whisk.
5. Sift in the flour and fold in. Set aside.
6. In a very clean bowl, beat the egg whites until opaque on low speed. Add the sugar in 3 batches and beat in between. Once all the sugar has been added, add the vinegar. Turn up the speed and beat until stiff peaks.
7. Add ⅓ of the meringue to the batter and gently combine with a whisk. Add the second third and even more gently combine to avoid knocking out the air.
8. Finally, pour all the batter into the remaining third of meringue and this time with a spatula, very carefully fold in by rotating the bowl in 1 direction only.
9. Drop the bowl on the table top to knock out the bigger bubbles. Pour into the pan from one side. the batter should spread.
10. Using the spatula, spread the batter evenly away from centre funnel. Run the spatula in a zigzag manner around the batter and especially around the sides of the pan and funnel. This breaks up the smaller bubbles. Drop the tin from a height several times to knock out more air bubbles.
11. Bake at 170 deg C for 65 minutes. Tent with foil in the last 15 minutes if the cake gets too brown.
12. Invert the tin over a pan so that it hangs upside down so that the cake doesn't deflate.
13. Once totally cooled, cut out the cake from the tin. Store in an airtight box.

No green color, no pandan smell or taste
Recipe feedback
- This has no taste or smell of pandan at all. I was pretty disappointed because it tasted like vanilla chiffon cake. Thank goodness I had added the coconut oil and vanilla, otherwise there would be no taste whatsoever! It also has no green colour. I think the use of pandan paste or essence is inevitable.
- This cake was a tad denser than the normal chiffon I am used to. I wonder if this had to do with the coconut oil and coconut milk. But still very very moist.

Update 11 July 20: Because the first pandan juice chiffon was so anemic, I decided to try making the pandan juice again. Snipped up 10 pandan leaves, put them in the food processor with 70ml of water, then poured it into muslin and squeezed it. I did drop in 3 drops of pandan essence just to give it a better colour.

Updated 20 Sep 20: Updated recipe here: https://simmetra.blogspot.com/2021/09/pandan-juice-and-paste-chiffon.html
Slight crack
Prettier!


Black vinegar pig trotters