Wednesday, June 28, 2023

IP Korean ginseng chicken

Love this chicken and so easy to make.

Sources: Burning Kitchen, Maangchi, and Korean Bapseng all have slightly different versions of making 삼계탕.


Ingredients

1 small whole chicken (under 2kg)

6 garlic cloves

3 to 4 red dates

2 stalks spring onion

3 slices ginger

3 tbsp glutinous rice, soaked for 1 hour and then drained

1 ginseng, preferably fresh

1 litre chicken stock (optional)

Salt and pepper to taste or dipping sauce

Method

1. Prepare the chicken but adding the ginseng and glutinous rice to the cavity. Use toothpicks to secure the cavity. Alternatively, tie the legs together across the cavity. Alternatively, cut a slit in the backslide and slip one drumstick into the slit across the cavity (see Bapseng video).

2. Any leftover glutinous rice and placed into a separate stock bag.

3. Place the chicken into the pot breast side down and the remaining ingredients to the pot. Pour the chicken stock in and top up with water if necessary until the chicken is ⅔ covered.

4. Seal the pot and bring to pressure, 40 mins with natural release. Alternatively, boil on the stove top for 40 to 60 minutes on medium heat or 4 hrs on bare simmer, turning halfway.

5. Serve with salt and pepper added to soup for taste. For the chicken meat, serve with salt and pepper or make the dipping sauce (see Maangchi).

Saturday, June 17, 2023

Traditional char siu bao (Sponge method)

I saw this video by Kat Kwa and got really excited. I have been attempted bao-making since 2015 (my very first attempt) and it's never been really successful. With the earlier recipes, I focused on getting the technique and ingredients (e.g., adding milk or wheat flour) correct. However, as long as I continued to use flour (or even cake flour), it always failed. The skin was tough and chewy, or very dense. 

The first breakthrough came when I changed to pao flour where the texture was fluffy, and I had even more success when I changed to KA to beat and also used the bao packet's own recipe. However while I got a satisfactory bao (not char siu bao) texture, the issue was that shape was wrong as the buns were always too flat. Some recipes have suggested that this spread may happen because the dough has been over-proved or because the filling was too wet.

For char siu bao, the main issues were getting the right pillowly texture and to get it to split open on top and 'smile'. Desperate, I even tried to compare the different recipes and methods. For char siu baos, the main 'trick' seemed to be using shortening (or lard) as opposed to oil and a little bit of baking powder. I even saw one blogger cut across the top of the bao to get it to 'smile' but that's definitely the wrong approach.

The main difference from Kat Kwa's recipe is that she not only uses shortening and baking powder, her proofing is all upfront rather than along the way. She only allows short resting periods to let the dough relax once she starts working with it. In terms of looks, she still closes it tight using the traditional bao wrapping technique rather than tries to get it to split open and 'smile' like what dim sum restaurants do. In fact, she even crimps the bao skin very tightly closed to ensure no leakage.

I decided to try her recipe but augmented to pork because I don't have char siu on hand (400g mince pork, 1 egg, salt and pepper, 1 tbsp corn starch, 1 tbsp potato starch, 1 chopped spring onion). More importantly, I wanted to focus on the getting the correct texture and shape first.

Ingredients (makes 12) and methods

Yeast dough

150g bao flour

1 tsp yeast

½ tsp sugar

125 ml warm water

1. Mix sugar with water until dissolved. 

2. Add the bao flour and mix. Batter will be very sticky. Cover and allow to proof for 2 hours in a warm place.

Filling and sauce

350g char siu, diced

3 tbsp toasted sesame seeds

1 spring onion, chopped

3 shallots, flattened

2 tbsp oyster sauce

1 tsp dark soya sauce

1 tbsp light soya sauce

3 tbsp sugar

¼ tsp pepper

1 tbsp tapioca starch

1 tbsp corn starch

125 ml water

Method

1. Prepare everything by chopping, toasting, etc. Fry aromatics in a little oil.

2. Pour in the ingredients for the sauce. 

3. Once the sauce gets sticky, add the cubed char siu. Fold in. The whole mixture will be very gloupy and sticky.


Bao dough

40g (2 ½ tbsp) sugar

150g bao flour

1 tsp baking powder

3 tbsp water

1 tbsp lard or veg shortening or cooking oil

1. Once the yeast dough has finished proofing, add the sugar and mix well until dissolved.

2. Add the lard and 3 tbsp of water. Combine well. It will be difficult to do at first but persist. It will be very sticky and wet at this stage.

3. Finally, add the flour and baking powder. The dough will start off claggy but continue to beat. The dough will start to stretch and 'clean' the side of the bowl. At the end you will have a clean bowl.

4. Transfer to a lightly floured surface and knead until smooth and no longer sticky. Cover and rest for 10 minutes.

5. Roll out into a rectangle, then fold. Roll out again and then roll up into a log (see video). Cut into 12 equal pieces and cover under a damp cloth.

6. With each piece, gently tug and tuck until a smooth ball forms. (see video) Cover with damp cloth.

7. Take out one at a time to work on. Using a round rolling pin, rotate the dough as you flatten the edges, leaving the centre unrolled (and thicker than the edges). Roll out all the dough in a similar manner and cover with cloth.

8. Taking one out to work on, flatten the edges between the thumb and index. Cup one hand and drape the dough on top. Fill the centre with approx 1 chinese soup tbsp of balled up filling, and then gently press the filling down into the cupped hand (watch video). 

9. Pleat to close the bun and ensure tightly sealed. (watch video). After each bao has been filled, place into a bamboo steamer. Once all the steamer has been filled, cover and allow to rest for 10 minutes.

10. Meanwhile, bring a wok of water to a rolling boil. After resting the buns, steam on high heat for 12 to 15 minutes.

11. At the end of the cooking time, switch off the flame and open the lid to leave it slightly ajar for the steam to escape.

12. Remove from steamer and serve. For the uneaten ones, allow to air dry (so bottoms don't get soggy).

Feedback: This recipe is a success!

- I used lard but the porky smell was very obvious when working the dough. After steaming, there was also a strong porky smell but it was hard to say if it came from the bun or the meat.

- The texture is soft and fluffy! However, the pleats didn't stay because the dough is very stretchy. I decided to change my usual wrapping style to momo style and that seemed to produce more pronounced pleats.

- I took the time to roll the dough ball to make the skin smooth before flattening and filling, and it shows. The skin looks less dimpled and rippled than normal.

- I kept the filling very dry and balled it up and the bao didn't spread and flatten! It helped that all the proofing was done at the beginning so it becomes harder to over-proof.


Saturday, May 27, 2023

Blender Basque burnt cheesecake

This is a new recipe with different timings and ingredients from the original one attempted in 2022. Source from NoRecipes (has video). I've been doing it wrong all this time! I have been trying to cook till it set, apparently that's wrong! It was meant to be severely undercooked inside and have the colour outside so half the baking time. The fridge is the magic element that sets the cake. The method is also a lot easier and faster. It uses a blender or food processor, doesn't require bringing things to room temp, and doesn't require lots of patient hand blending!

Fresh out of oven

Deflated slightly after cooling

After 1 night

Ingredients (fits 6 inch round pan but I'm using 7" so it's very short with 1 block of cheese. Recipe also has upsize suggestions for bigger pans)

1 block (226g) Philly cream cheese

1 C (237ml) double cream

2 eggs

100g sugar

15g cake flour

½ tsp vanilla extract

Method

1. Preheat oven to 230 deg C.

2. Line a 6 or 7 inch round pan with parchment.

3. Add all the cold ingredients to a blender and blend until smooth. Set aside for 20 minutes for the bubbles to settle.

4. Pour into prepared cake tin. Run a skewer through it to burst big bubbles and tap several times on the counter.

5. Bake to 25, max 26 minutes (for 6" pan, start watching from 22 mins). The top should be just caramalised (not burnt). The centre has significant jiggle. (See video to understand consistency)

6. Leave it to cool completely on baking rack and fridge min 5 hours or overnight, storing in a Ziplock bag.

7. Cut with knife warmed in hot water to make clean cuts.

Feedback

I have been doing it all wrong! I really need to underbake it and it will still be totally molten liquid. Then, let the fridge do its job and firm it up and set it. This way, it doesn't harder in the fridge but remains silky fudgey rather than a hard cheesecake.

However this is only half the height of the original recipe. After beating, the batter will be too full for the can tin.

The above recipe uses is for a 6" pan for 1 block of cream cheese but I used a 7". Here's one for a 8" pan using 3 blocks of Philly.


Update #1 I doubled the proportions and used the same 7" pan.

Took 23 to 24 minutes (watched like a hawk from 20 mins) to ensure top is brown but not burnt. Because it's so thick, it then needs further baking at for 30 mins at lower temp of 140 deg C. Leave in oven but open door ¾ way to leave it to cool slowly for about an hour, then transfer and cool on cooling rack until completely cool. Store in fridge for 4 hours or best overnight to completely chill and harden.

Just after baking

Straight out of the oven

Update #2 Second temp of 150 deg C for 30 mins. 

Started again at 230 deg C for 20 minutes (already started to burn!) then switched off oven. Had to leave the door to bring temp down rapidly (resulting in the crack) then 150 deg C for 30 minutes. Then switched off oven and left door ajar for 20 to 30 minutes to gradually cool down.

Straight out of oven (after 20 minutes cooling in the oven with oven off)

Cake came out quite cooked with minimal jiggle.

Crack from the rapid cooling initially. Very slight jiggle. Will be fine eating at room temp but hard if straight from the fridge.

Update #3 Second temp of 150 deg C for 20 mins

The recipe was also slightly tweaked so I only had 250g of double cream (instead of 2C after doubling the other ingredients). This way it wouldn't overflow.

This time it was 230 deg C for 21 mins then I turned after temp down to 150 deg C, I cooked for further  20 mins, with further 20 minutes in the oven that had been turned off with door left ajar.

No jiggle whatsoever out of the oven. There was already a crack after the 150 deg C.
Crack is visible but the rest of the cake is so pretty with my new Temu disposable cake liners!

Because there was almost half the liquid of the original doubled recipe, this is a firmer cheesecake than the more almost mousse-like texture of the original recipe. This version seems to work best eaten at room temp. However for a cake that can be stored in the fridge, the second temp seems to be 140 deg for 30 mins followed by storing in the fridge (but served counter-top 'thawed' out of the fridge) seems to work better. 

Saturday, February 18, 2023

Airfried Roasted chickpeas

I have never been a fan of legumes but have recently met a vegan colleague. I asked her what to do with chickpeas and blackbeans, as I didn't relish eating hummus (made from chickpeas) perpetually. She told me to roast them. 

I came across this airfry recipe and was hooked. Straight out of the oven, they reminded me of kachang putih! Unfortunately once I put them in a salad, they deflated. Still tasted nutty but the crispiness was gone. I don't think there's any way to over come that. However this recipe gave me a instant memory of my childhood and compared to other recipes, it's super easy too.

Love and lemons: https://www.loveandlemons.com/roasted-chickpeas/

My method is slightly adapted based on what I read in other recipes.

1. Drain a can of chickpeas well. Spread it out in a single layer (e.g. on a baking sheet). Allow to air dry for about an hour, turning if possible (but be careful as chickpeas can disintegrate).

2. Pat dry with kitchen towel. Toss through 1 tbsp of olive oil and salt. Add in any other desired dry power (e.g. spices or herbs).

3. Air fry in a single layer for 18 minutes.

4. These are GREAT straight out of the oven. If putting a salad, add them last (although it didn't make a difference to me once I tossed the salad).


Saturday, October 08, 2022

Cream cheese castella

From this video recipe by Mommy Oven. I had 1 block of Philly to use and was so sick of the normal cream cheese recipes. I found this video blog sponsored by Philly nonetheless and decided to upsize to half a block aka 125g (out of a 250g block of cheese). The original recipe calls for 100g so these are my own upsized measurements to fit my 24*13*7 big loaf tin.

Try 1

Try 2

Ingredients (all at room temp)

125g cream cheese

31g honey

44g milk

150g sugar

32g oil

5 eggs, separated

150g cake flour

1 tsp vanilla extract

¼ tsp lemon juice

Method

1. Put the half block of softened Philly cream cheese and using a spatula, flatten it against the side of the bowl to break up.

2. Add honey and combine until no more lumps. Take care to really work it so that there are no more lumps.

3. Add milk and continue to combine until no more lumps.

4. Finally add oil and vanilla extract and do the same. Set aside.

5. In a very clean bowl, beat the egg white until opaque at low speed (KA1). Add the sugar in 3 batches, adding the next batch of sugar only when the previous batch has been incorporated.

6. Add a dash of lemon juice. Turn up the speed to KA 2 and then gradually increase to 4. 

7. Turn up to KA6 and beat briefly, alternating with speed 4 to get small bubbles. Be very careful at Speed 6 as it can go from beaten to watery in a matter of seconds (trust me I know because I had to feed a whole batch of 5 eggs to the dogs!)

6. Once the meringue reaches just before stiff peaks, add the egg yolks and at Speed 1, beat very very briefly (about 1 min) until just combined. The mixture should resemble ribbons when it falls on itself.

7. Sift the flour into the mixture in two batches, making sure to fold each time. Take your time to fold carefully until no dry flour spots remain.

8. Pour ⅓ of the cheese mixture into the egg mixture and incorporate to loosen the egg mixture, you can be quite rough and beat it in for about 30 seconds. Pour the loosened cream cheese mixture back into the egg mixture. Fold decisively with as few strokes as possible (approx 30 seconds) turning the bowl as you go.

9. Pour the mixture from a height into a prepared (parchment wood-lined) loaf tin. Tap the tin on the counter to dispel air bubbles. Then, using 2 skewers, draw lines up and down the mixture in a grid to dispel the smaller air bubbles.

10. Bake at 175* deg C for 10 minutes, then turn down to 140 deg C for 45 minutes until cooked.

Try 1: at 180 deg C and 45mins 140 deg C
Try 2 at 175 deg C and 45 mins 140 deg C

11. Take the tin out and drop it onto the counter from a height. Oil a parchment and invert the top of the cake on to the parchment and leave it top side down for 5 minutes so that the cake top is smooth and flat. 

12. Remove the parchment from the bottom and invert the bottom back onto a cooling rack to allow to cool completely. 

12. Let it down completely. Best wrapped in cling foil and then left at room temp for a day. Next day, partake! 

Verdict

- Try 1: * The top cracked! According to this blogger, either the meriginue was overbeaten (beat to medium instead of stiff peak), the tin was too small (possibly, the side of the pan may have been too short) or the temp was too high (possibly because recipe starts at 180 deg C and short of taking the cake out of the oven and collapsing, the oven temp takes some time to come down. However, if I put it in for less than 180 deg C initially, it may not brown sufficiently). Perhaps to turn down to 175 deg C for 10 minutes followed by 140 deg C for 45 to 50 minutes (incorporated changes in original recipe).

: Right out of the oven, the top is crispy but the sponge feels dry. I cooled it down then wrapped it in plastic wrap. The next day, the sponge felt moist while still soft! There were a few minor gummy spots, which means I cannot reduce the heat or cooking time by too much. However, by Day 2 it felt dry.

- Try 2: Top still cracked. I tried serving it bottom side up which looks nicer and flatter but the sloping sides of the pan made it look awkward. Straight out of the oven, it doesn't feel as dry as the first attempt.

Wednesday, August 17, 2022

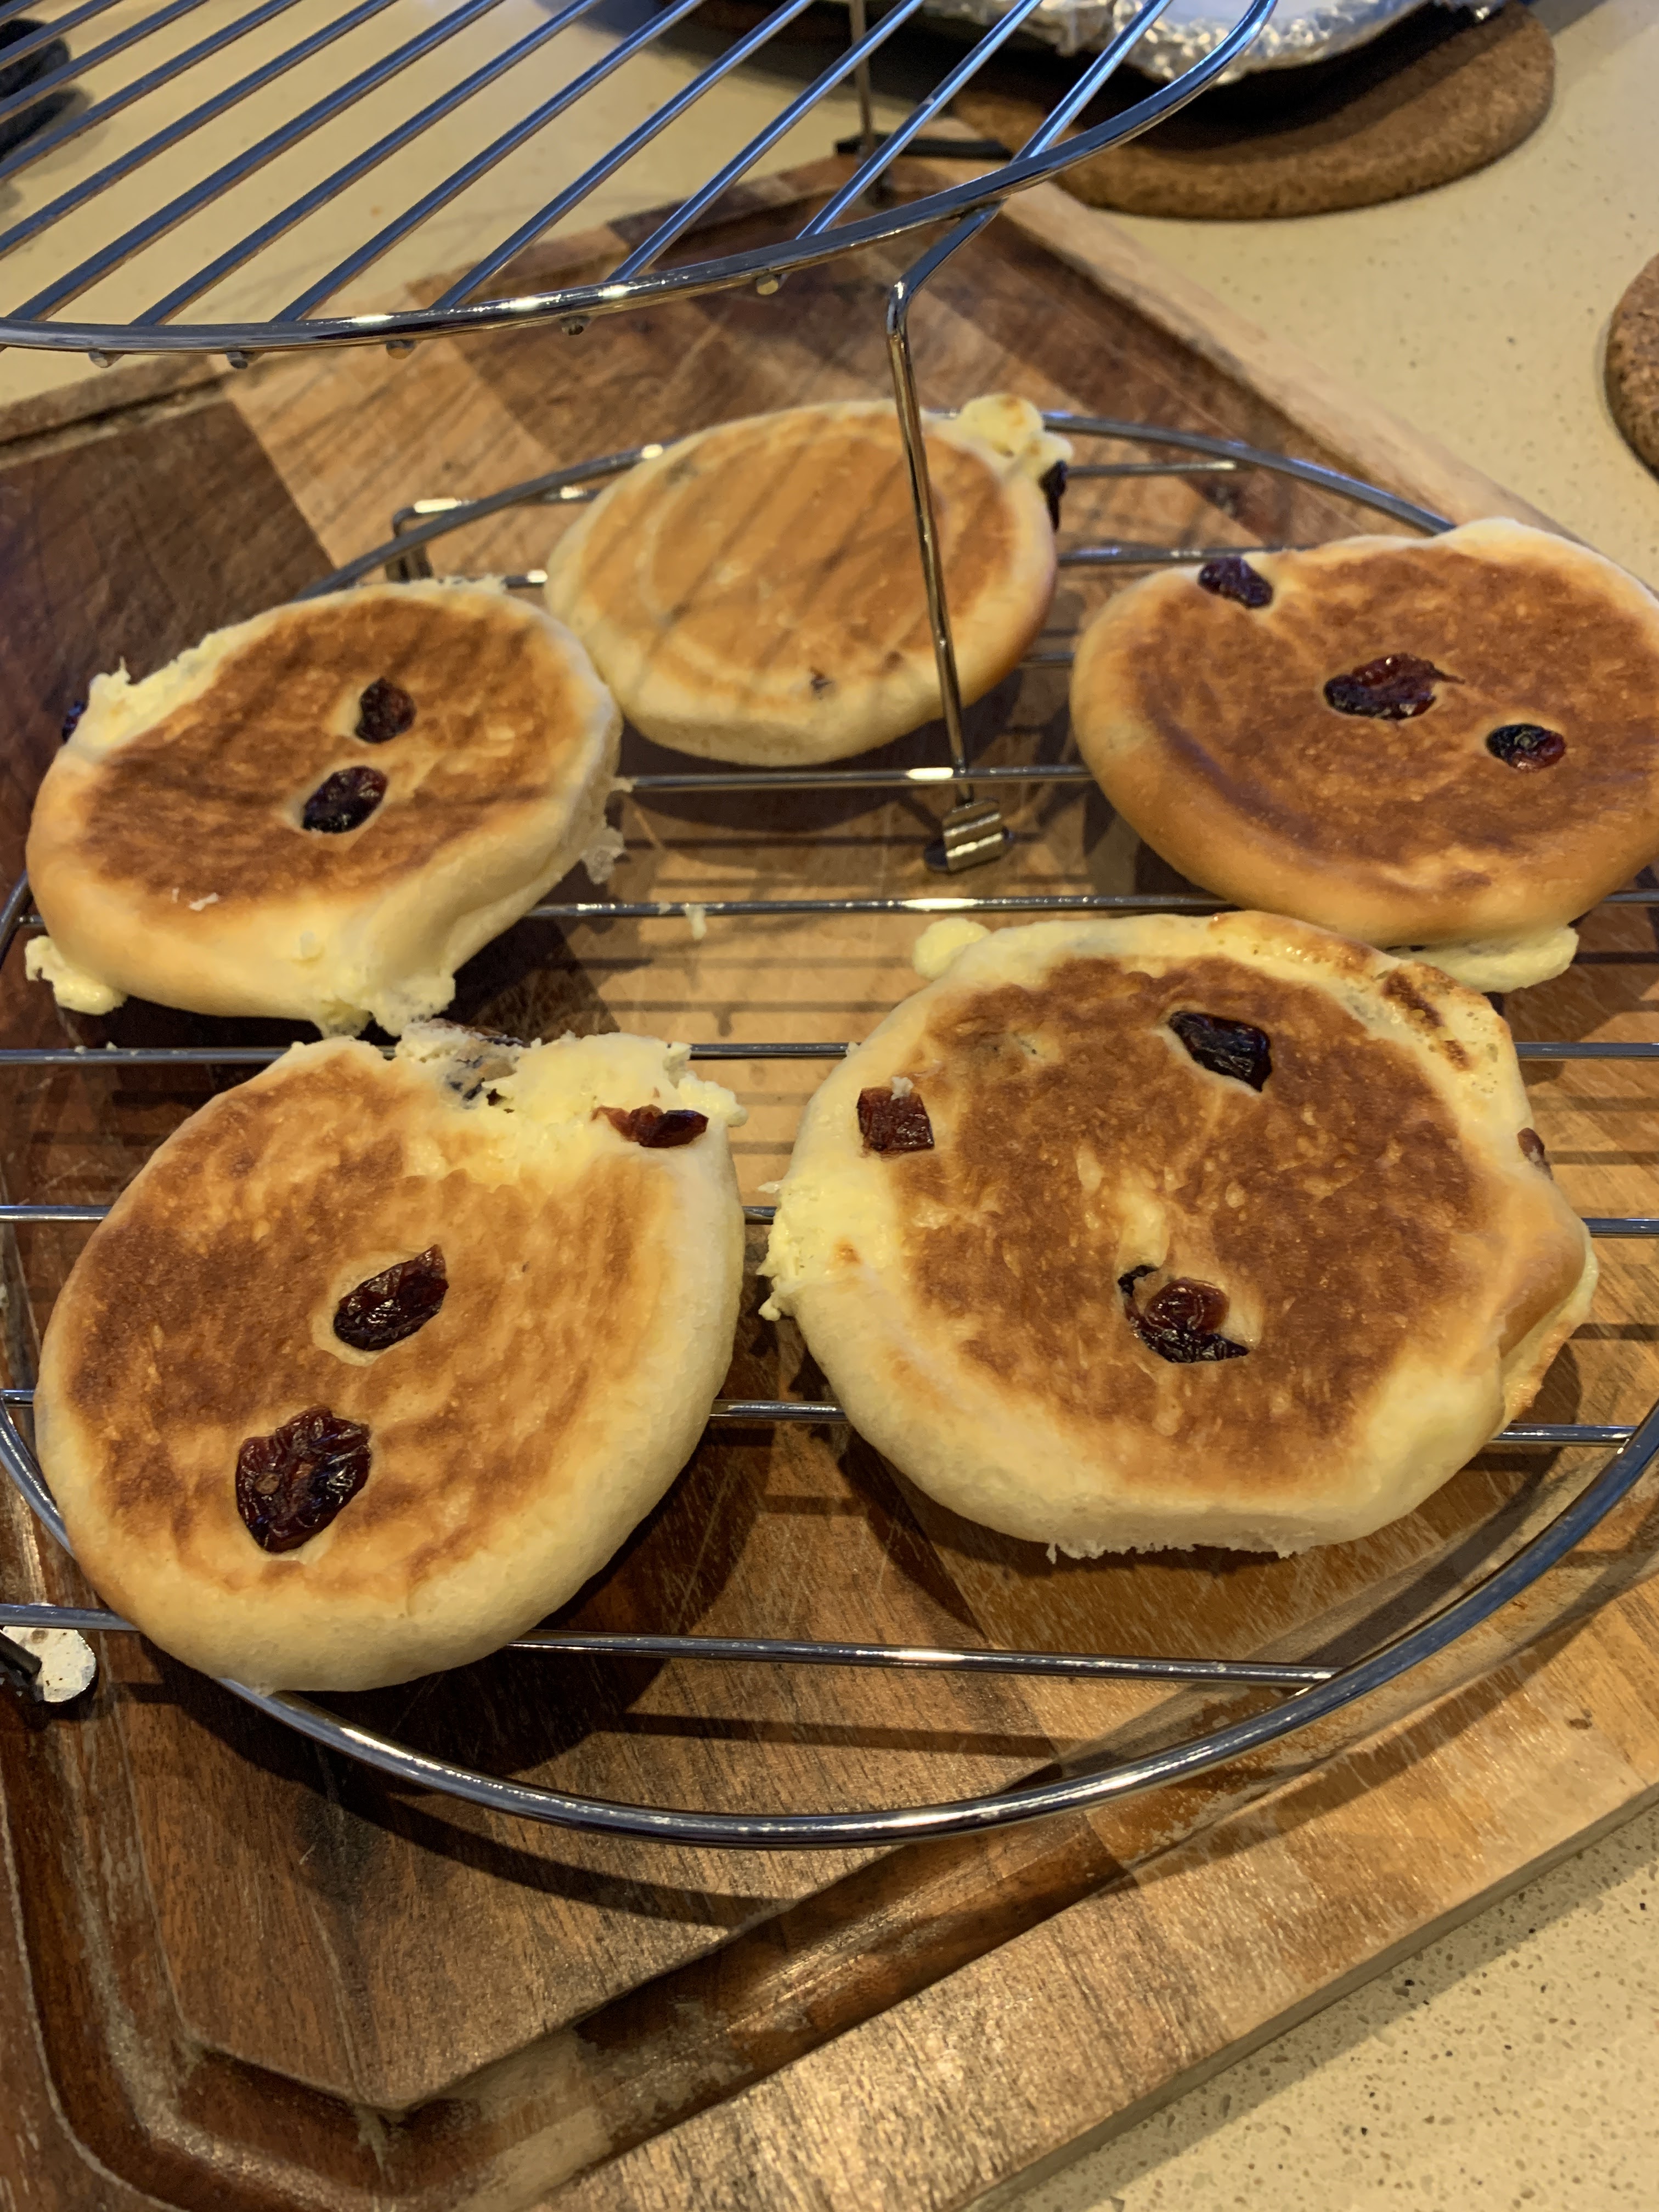
Cranberry cheese bread

Two recipes as sources and both using Tangzong. The proportions vary. DreamersLoft uses 310g bread flour as well as 56g cake flour, with higher propotion of tangzong roux but less liquid overall as it uses milk powder. Bakomanic uses 318g bread flour and very little tangzong but has more liquid overall. Both however use 1 block of Philly cream cheese (difference of 10g between the recipes?) which is great for me as there is no leftover.

Dreamlovers makes 17 buns (35g dough per ball and proves twice for 40 mins each, and bakes at 210 deg C for 12 minutes. Bakomanic makes 9 to 12 buns (50 to 70g dough ball) and proves twice: first time 1 hr and second time 30 minutes, and then bakes at 180 deg C for 19 to 23 minutes. 

Both recipes do it the same way e.g. have to leave a gap of around 2cm around each bun as it spreads, and proofs and bakes with a dark coloured tray on top to give it sufficient colour.

Decided to try Dreamers recipe today.

Ingredients

Tangzong*

100g bread flour

500g water

1. Combine in pot and cook by stirring continously on low fire.

2. Once dough reaches 65 deg C, it is ready.

3. Use clingfilm to cover the top and touch the surface to prevent a skin from forming. Set aside to cool. This can be prepared day before and placed in the fridge then brought out to bring to room temp for an hour when about to make the buns.

Filling

Meanwhile, prep the filling. Bring cream cheese to room temp.

240g Philly cream cheese (1 box)

50g icing sugar (i used regular sugar)

25g milk

50g dried cranberries

1. Except for the dried cranberries, prepare the filling by beating the cream cheese with icing sugar and thinned down with milk.

2. Place into a piping bag. Set aside.

3. Rehydrate cranberries for 15 minutes in water. Then drain and squeeze dry. Chop into smaller pieces if they are too big.

Dough

210g bread flour

56g cake flour

20g milk powder

42g sugar

pinch salt

6g instant dry yeast (2.5 tsp is 7g) 

84g tangzong, room temp

85g water

30g egg, room temp

22g unsalted butter, room temp

Big oven. Pressed too hard.

Small oven. Bake 1 minute less aka 11 mins


Method (makes 18)

1. Combine the dry ingredients in KA bowl using Stir function (Speed 1)

2. Add the rest of the ingredients a bit at a time except butter. Stir. May need to stop to scrape down.

3. Once gluten forms, add the butter, small cubes at a time and continue to use Speed 1 to stir in.

4. Once combined, turn up to Speed 2 and then Speed 4. Beat for 12 to 15 minutes until window pane stage.

5. Add cranberries and Stir for 1 minute.

6. Remove dough from bowl, oil bowl. Tuck the dough into a ball and return to bowl. Coat the dough lightly with the oil from the bowl. Cover bowl with cling film and then tea towel. Set aside in warm area to prove for 45 to 60 mins (depending on room ambient temp) until expanded double in size. Check using the finger poke test.

7. Dough weighs about 630g. Divide into around 35g balls (makes 18). Tuck ends into balls and set aside for 10 minutes to relax.

8. Flatten out each ball with palm (coated with little bit of flour if required) and pipe in cream cheese, about 2 tsp. Gather the edges and pinch to seal, ensuring no leakage. 

9. Gently cup and roll around on the surface. Place on lined dark coloured tray. Ensure buns have at least 2cm spacing all around as they will expand. Cover with baking paper and then top with another dark coloured baking tray so they will expand flat and outwards rather than rising up. VERY gently press down to flatten as you don't want to burst them. Allow to prove for 45 to 60 minutes until grown 1.5x in size.

10. Bake for 12 mins at 210 deg C (only 11 mins in big oven), top and bottom heating. When baking, keep the tray on top so that it will not rise but instead expand sideways.

11. Remove from oven and cool on wire racks.

Receipe feedback

* The recipes makes far more tangzong than required, probably 3x the amount. I understand the point about drier flour needing to soak up more water, but if the tangzong produced is slightly less than 600g and only 84g is required, surely ⅓ of the recipe should suffice? In future, I'd make slightly more than ⅓  i.e., 30g bread flour to 150g water. Coincidentally, this is very closer to what Bakeomanic uses ie 3 tbsp + 1 tsbp (ie around 11g bread flour) is to 50ml water.

- Overall, I now recall why I hate tangzong recipes. The dough is very hard to handle initially in the mixer, super sticky and soft. It is still soft and sticky after proving but at least doens't stick to hands. , without noticeable difference in the softness of the baked bread.

Instant Pot Red fermented tofu chicken

This is a great recipe from Spice and Pans. Easy to make, super tasty, and uses up an awkward ingredient in the pantry.

The picture doesn't do it justice but it is delicious!

Ingredients

1kg of chicken (parts or drumstick or whatever you like)

1 to 2 cubes to make 1 flat tsbp of fermented red tofu and 1 tsp of liquid

1 tbsp hoisin sauce

1 tbsp oyster sauce

1 tbsp light soya sauce

2 tbsp Chinese cooking wine

2 tbsp cornstarch

3 bowls of water

thumb size of ginger, julienned

5 cloves of garlic, smashed and minced

2 tbsp cornstarch + 2 tbsp water as cornstarch slurry

2 stalks spring onions (optional) for garnish

Optional: wood ear fungus, soaked shitake mushroom, sliced bamboo, canned straw mushrooms, baby sweet corn


Method

1. Marinate the chicken with all the ingredients, except the aromatics and water, for at least 2 hours.

2. Add some to a pot and fry the ginger and garlic till fragrant.

3. Briefly fry the chicken to brown it. Add the water to the marinated pot to rinse it out and act as the sauce.

4. Add any optional vegetables if using.

5. Cook for 20 to 25 minutes until cooked. I used the IP so this took only 10 minutes on Poultry setting with 5 minutes natural release.

6. Add the cornstarch slurry to thicken the sauce. Serve immediately with spring onion garnish.


Thursday, July 14, 2022

Chinese Milk bread

Unlike the recipe for Korean milk bread that had 3 proves and used butter, this recipe has 2 proves and doesn't use any oil but instead uses cream. The problem I've found with recipes that don't have oil is that the dough is usually very sticky and hard to manipulate. I had to add quite a bit extra flour (2 tbsp) so that it would stop sticking to my mixer bowl. I don't know how this dough handles although it is much softer than the dough with bread. 

From Woks of Life

Ingredients (makes 2 loaves)

160ml heavy cream (⅔ C), room temp

1 C milk (250ml), room temp

1 egg, room temp

75g sugar (⅓ C)

½ C cake flour (70g)

3½ C bread flour (500g)

1 tbsp instant yeast (7g)

1 egg whisked with 1 tsp water for egg wash

Syrup (if using, 2 tsp sugar + 2 tsp hot water)


Method

1. Using the Stir function (speed 1) on the KA, add in the following order: heavy cream, egg, sugar, , salt, cake flour. Stir. Add yeast. Stir. Alternate with bread flour and milk and stir. Add just enough milk for the mixture to come together without any dry spots.

2. At this point, the dough is very sticky. Turn up to speed 2 and eventually speed 4 until it reaches window pane stage, approx 15 minutes. Stop periodically to scrape down.

3. Ball it up, oil the bowl and put the dough into the oiled bowl. Cover with cling film and tea towel and set aside to prove for 45 mins to 1 hour until it doubles in size.

4. Meanwhile, oil the pans (I used the small Pullman and the large loaf tin, or use 9" round tin). 

5. Punch down the dough and shape as you wish (i.e., either loaf or buns). Add whatever filling you wish (e.g., cinnamon sugar, sausage, etc)

6. Return to the pans and prove for 1 hour. It should have expanded by about 0.5 times. Brush with egg wash.

7. Position in the middle rack and bake at 175 deg C for 23 to 25 minutes until the top is golden brown.

8. Remove onto wire rack and brush with simple syrup if using.

9. Carve the bread only when completely cool. If possible, best if left overnight and carved the next day.


Needs a bit more de-gassing to get rid of the air bubbles on the surface!


Recipe feedback: The bread is indeed very soft and bouncy! Feels a lot like the HK bread you get in Asian bakeries. But feels a bit denser compared to the recipe with oil and definitely less moist.

Wednesday, July 13, 2022

Milk bread recipe comparison

After trying a bread recipe with pullman tin that required 3 proves, the bread came out fantastic but I don't have time to wait for bread to prove thrice. Here are several recipes that I will try. My Shokupan/Pullman for reference: L21*W12.5*11Hcm (aka 1.5 jin pan which fits 580g dough).

1. I am food blog

a. Non-pullman tin: https://iamafoodblog.com/milk-bread/

- Bread tin size: 8.5*4.5*2.5" (21.6*11.4*6.3cm)

- 270g bread flour yields 502g dough

b. Pullman tin https://iamafoodblog.com/how-to-make-the-best-japanese-shokupan-milk-bread/

- Pullman tin size: 4.5" (11.4cm)

- 250g bread flour (yields 1 pound aka 453g dough)

: recipe includes % of oil, water, milk, egg, butter, flour to change depending on size of tin

2. Omnivore https://omnivorescookbook.com/milk-bread-rolls/ (tried here)

- 300g bread flour (2.5 C)

- 23cm (9") square baking tin

- Uses condensed milk instead of normal milk

3. Woks of Life https://thewoksoflife.com/milk-bread-2/ (tried here)

- 500g bread flour (3½ C), 70g cake flour (½ C) - makes 2 loaves in standard loaf tin (8.5*4.5*2.5") or 9" (23cm) round cake tin (she later updated the recipe for only plain flour 

- Uses cream and milk

- Also makes cinnabuns

4. Jack's shaping and dough, bread flour and tin sizes

https://www.youtube.com/watch?v=6zW9LX9ALSI

- 500g bread flour yields approx 870g dough goes into 2 pound tin aka 907g (13*20*9cm)

- How to shape bread to fit the tin

5. Alternate method to shape a sandwich loaf

https://www.kingarthurbaking.com/videos/baking-skills/how-to-shape-a-sandwich-loaf

- Flattens to seal using the heel of the hand, and tucks to shape

6. How to calculate bread dough to fit the bread tin

Princess Bamboo: https://www.youtube.com/watch?v=mGRNqW6JpLY

1.5 jin (aka 600g) sokupan: 20*10*12cm fits 580g dough uses 313g bread flour

2 jin sokupan 26*12*12.5cm fits 975g bread dough uses 527g bread flour

7. Tips on sandwich bread ingredients from Emma's Goodies

: Milk makes a softer crumb. Sugar isn't used to activate the yeast, instead, it binds to water molecules to help the bread tastes fresh for longer. Oil gives the bread elasticity and stops water and starch molecules from separating to keeps bread fresh longer. 

: High hydration dough means big air bubbles. Low hydration dough means small air bubbles but makes it very tough to knead and rise.

: She demonstrates and no-knead sandwich bread method that just uses stretch and tuck with lots and lots of resting time!

Wednesday, July 06, 2022

Easy overnight fruity french toast casserole

This is a recipe that takes all of 5 minutes to put together and can be sized up if more people are eating. Spend that 5 minutes of prep and treat yourself the next morning.

Ingredients

4 eggs, beaten

Dash of milk

2 tsp cinnamon powder

2 tsp sugar (can be omitted)

butter to spread

6 slices of brioche bread

¼ C frozen blueberries

2 bananas, sliced

Method

1. Line a baking dish with the side. Tear up the pieces to fit the bottom of the tin.

2. Butter the bread. There is no need to be too careful, you could even dollop on knobs of the butter as well.

3. Whisk up the eggs. Add the dash of milk and pour over the bread. Press down the bread so that it soaks up the eggy milk mixture

4. Sprinkle on the cinnamon powder and sugar

5. Cover with cling film and leave in the fridge overnight to soak up.

6. The next morning, take it out of the fridge around 30 mins prior and set it out on the counter top to come to room temperature. Meanwhile, slice up the bananas. Place these on top.

7. Bake for 180 deg C for 20 minutes. Remove and sprinkle on the blueberries. Turn up to 200 deg C and return the baking dish to the oven for another 5 to 10 minutes until the edges of the bread are slightly charred.

8. Serve immediately with maple syrup if desired.