From this fantastic recipe, watch the video too: www.biggerbolderbaking.com/no-knead-donuts/
I've not made changes to the ingredients but just noted some notes that are specific to me. However, this recipe has taught me that having a proper donut cutter is important, or at least a proper scone cutter! I improvised with a milk jug and it didn't turn out too badly taste-wise but the look could be improved! I initially tried cutting holes in them but gave up. That's one more piece of dough to worry about (the donut holes) in terms of uneven baking, coloring, dunking in frosting, etc.
Ingredients (makes 20 * 3" donuts)
1.5 cups of flour
2 tsp dried yeast
1 tsp salt
4 eggs, beaten, room temperature
1 tsp vanilla
3/4 cup (200ml) milk (warmed to the touch, about 1 minute in the microwave)
3/4 cup (170g) butter, melted
1/4 cup sugar (original recipe used honey)
Melted butter for brushing
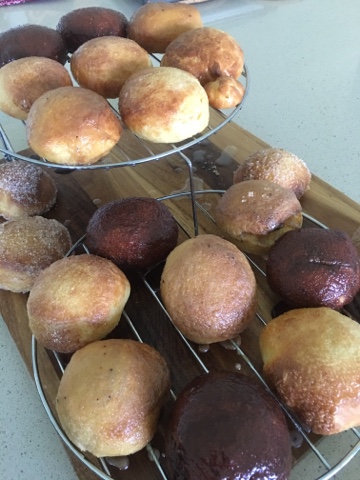 |
| My tower of donuts |
Method
1) Mix the dry in a big bowl: flour, salt, yeast (keep it separate from the salt), and sugar.
2) In a separate bowl, mix the dry: melted butter, milk and beaten eggs.
3) Add the wet to the dry and stir to combine till no pockets of dry flour remain. There may be some lumps but the proved batter will be fine. The batter is on the soggy and sticky side.
4) Cover with cling film and a towel and set aside to proof for 2 to 3 hours until doubled in size. Then stick it in the fridge for at least 12 hours (best overnight) and up to 3 days. The size doesn't change much after putting it in the fridge, instead, I noticed that it deflated a bit. It must have the 12 hours and cannot be used after just the 3 hours.
5) The next day, remove it from the fridge to warm up a bit so that it is easier to roll out. At this time, I start preparing my icing but I don't add the final liquid yet otherwise the frosting may set by the time I'm ready to glaze. I also prepare my baking trays by placing parchment on them.
6) On a floured surface, take out half the dough (keep the other half covered) and lightly knead. Roll out to 1/4 inch thick. Cut out the donuts with a donut cutter if using, or a 5" scone cutter and a piping nozzle for the centre. I decided to stick with just a 3" milk jug with no centre hole to worry about.
7) Lay the donuts on the parchment and cover with clingfilm and put it back in the fridge so that both batches rise at the same rate.
8) Take out the other half of the dough and continue to make the donuts. (halfway through, I remove the first tray of donuts to warm up so that they don't get too cold and stop proofing)
9) Leave to proof for 30 to 45 minutes until doubled in size.
10) Brush with melted butter.
11) Bake at 190 deg C for 15 minutes. (I usually bake for 9 minutes, then rotate the trays to ensure even browning and continue with another 6 minutes, including an extra minute or 2 to compensate for the loss of hot air if they haven't browned enough). While waiting, I finish up my frosting by adding the liquid to make the paste.
12) Once out of the donuts are out of the fridge, glaze immediately while the donuts are still warm as they tend to absorb the sugar better.


No comments:
Post a Comment