After my success with using the sponge method to make bao buns, I decided to try this recipe for milk shokupan bread by WTT (video).
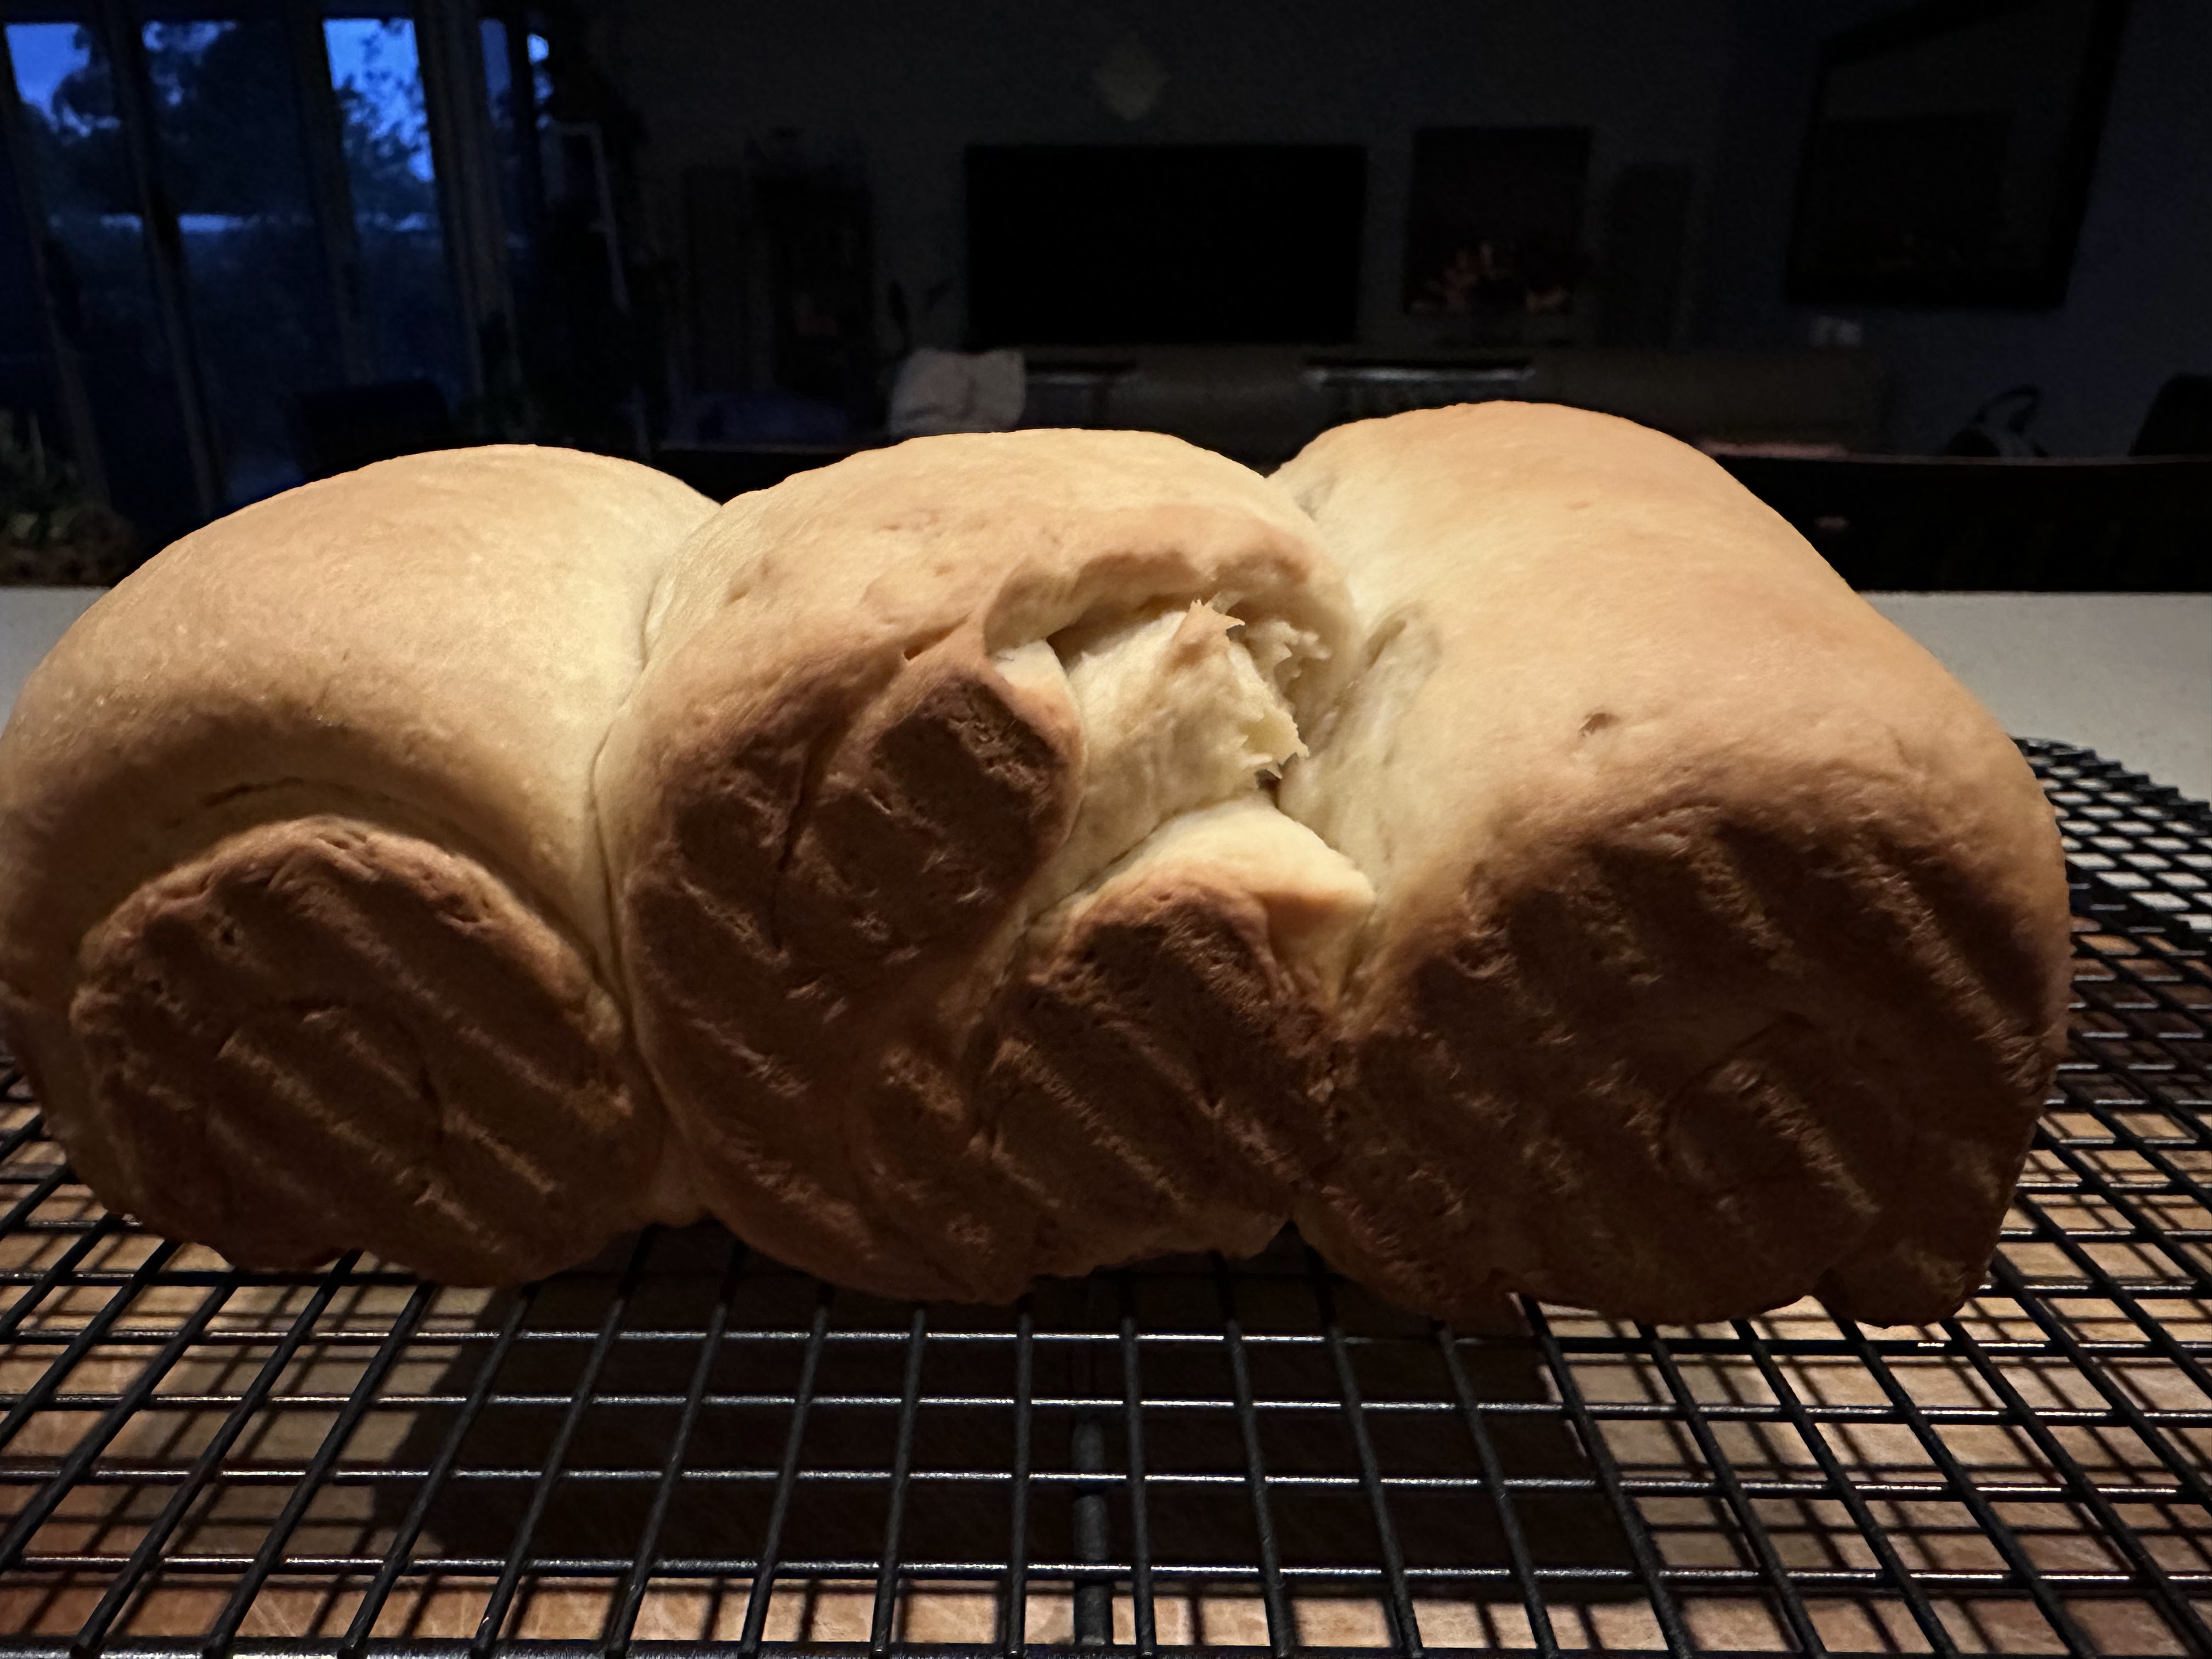
Update: This recipe turned out to be a FAIL possibly because I over-kneaded with KA. I read the recipe's commenters and I wasn't the only one based on her mixer's beating timings so I'm not keen to try again.
Ingredients (makes 587g dough)
Sponge
170g bread flour
200g water
23g honey
¼ tsp yeast
Method: Combine ingredients for sponge in a stand mixer and stir on Speed 2 for 2 minutes. Cover and leave in a warm place for 1 - 4 hours. If leaving longer, keep in the fridge for up to 24 hours and no longer.
Bread dough
Ingredients
160g bread flour
½ tsp yeast
20g dry milk powder (produces softer bread than liquid milk but if using liquid, replace all the water in the sponge with liquid milk instead and scald the milk ie simmer at 80 deg C to remove protease enzyme. This enzyme breaks down bread gluten and results in less rise. Let liquid milk completely cool first or it will kill the yeast)
5g salt
25g honey
50g unsalted butter, softened and cubed
Egg wash: 1 large egg + 1 tsp water
1 tsp sesame seeds (optional)
Method
1. Combine ingredients in KA except for butter. Stir at Speed 2 for 1 minute then increase to Speed 4 for 5 minutes. The dough should still be a bit sticky.
2. Add the butter slowly in 3 or 4 increments and beat for about 2 minutes in between. Finally, beat until the dough is shiny and smooth although may still be sticky. Continue to beat for another 7 -10 minutes until windowpane stage. This was very tough on the KA, I kept taking it out to scrape because the dough ball stuck stubbornly together. Once all the butter had been worked in and the bowl was clean, I took it out and hand kneaded for 20 mins and it still didn't reach windowpane.)
3. Gather into a ball and oil a bowl and put it in. Cover. Allow to prove until double it size, about 45-60 mins.
4. Deflate the dough and divide into 3 balls. The bread is very soft so it will collapse as one big loaf. Cover and allow to rest for 10 mins to relax the gluten.
5. Shape the dough accordingly (whether for filling or to fit a shokupan). Cover and prove for another hour until 90% full in the shokupan.
6. Preheat oven to 180 deg C. Prepare the egg wash. Brush eggwash thinly and sprinkle sesame seeds if using.
7. Bake in the middle of the oven for 40 mins. Bread may need tenting halfway if it gets too brown. Internal temperature of the bread (right in the centre of the loaf) at 35-40 mins should be 88 deg C. If not, continue baking 3-5 mins and check again. Temp needs to be checked because bread is so soft and airy so needs to be completely cooked otherwise it will collapse under the weight of the crust.
8. For shokupan, drop the tin on the counter to shock it and prevent shrinkage. Brush with melted butter if preferred. Let sit in the pan for 5 mins. Remove bread from pan and lie loaf sideways on a cooling rack for 15 mins. Totally remove bread and leave it to cool completely on the rack (about 2 hrs). Do not attempt to slice bread until completely cool or bread may collapse or turn gummy!
Recipe feedback
- This is a really long recipe even in summer because of the sponge dough development and then two provings, and then the bread takes another 40 minutes to bake. That's almost 7 hours (including preferment; even longer in winter) of inactive time. It will help reduce half the time if the preferment is done overnight.
- This bread isn't great for filling. The seams are hard to close as the dough seemed very dry right from the moment the main dough went into the KA - there is no liquid to bind other than the honey, I was almost tempted to add water because there were spots of dry flour. The Sponge isn't very wet either (when I used milk). Even if I had used water + milk powder separately in the sponge and main dough as the recipe wrote, it's hard to see how the bread would end up being moist.
- First attempt: not sure what happened but didn't rise. Was it the salt I accidentally added in the sponge?
- After some research, I think I have overkneaded because this is what happens - it became difficult to knead (stiff) and bakes as dense and hard because it can't rise. I had found it very difficult to knead in KA (dough kept balling and refused to be kneaded) cos I thought it was too little water. So after 20 mins in KA when it was already smooth and not tacky, I still took it out to knead by hand for 10 mins cos I could never achieve windowpane stage.
- Different to over proofing which tight squat with gummy crumb as mine actually had a soft crumb. Overproofed dough can be saved by just punching out and proofing again. There is no way to save over-kneaded dough. Can try letting the dough relax/proof for double the amount of time but it doesn't always work.
- How to correctly proof dough by Perfect Loaf. Underproofed would suddenly 'over spring' with massive rise, dough ruptures, large hole pockets with dense spots. Properly proofed dough has even crumb and even dispersion of holes. Overproofed dough has no oven spring, squat, dense with tiny holes. Overproofed is better than under cos at least the dough will be delicious (taste). Make foccasia or crotons.


No comments:
Post a Comment